

Trichromy: astronomical photography from RGB fits files
(2014 Feb. 16)
We desmontrate here how to make a color picture using trichromy method with the software Gimp. The version used is 2.8.10 and computer operating system is linux fedora 19.
The procedure showed here was inspired by the web page The Gimp - Assemblage par la méthode des calques written in French by Henri Gaud (2008) for an older version of Gimp.
Other links:
-
Gimp team revitalizes astrophotography tools (19. Feb, 2013)
- Gimp Astronomy Plugins
- FITS Image Software Packages
- Chandra X-ray Observatory - openFITS:
"Although GIMP has a built-in FITS reader, it is limited to 8-bit
image scaling while the original data in most cases are 16 or 32 bit
so image information will be lost. "
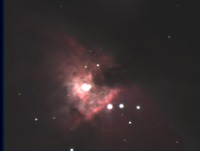
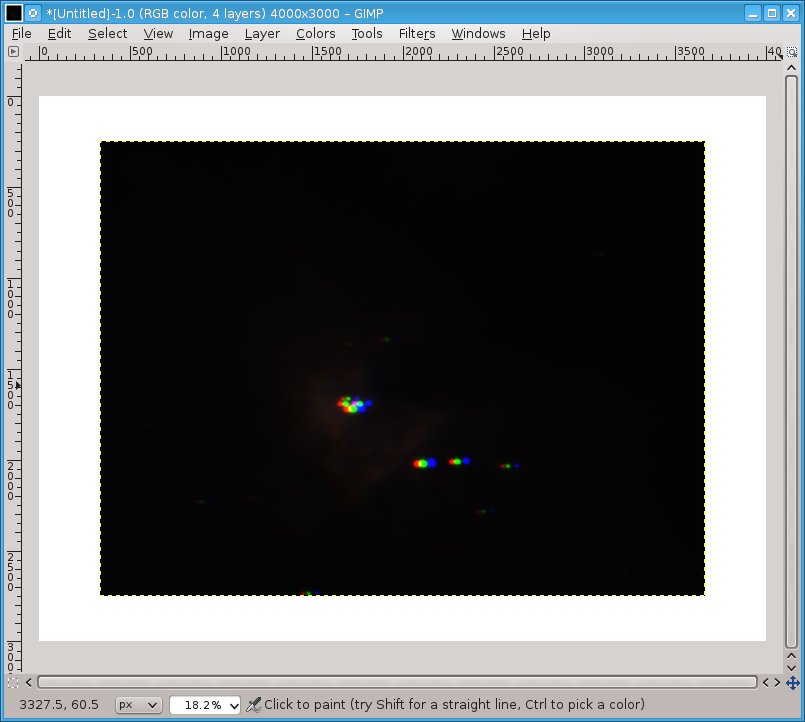
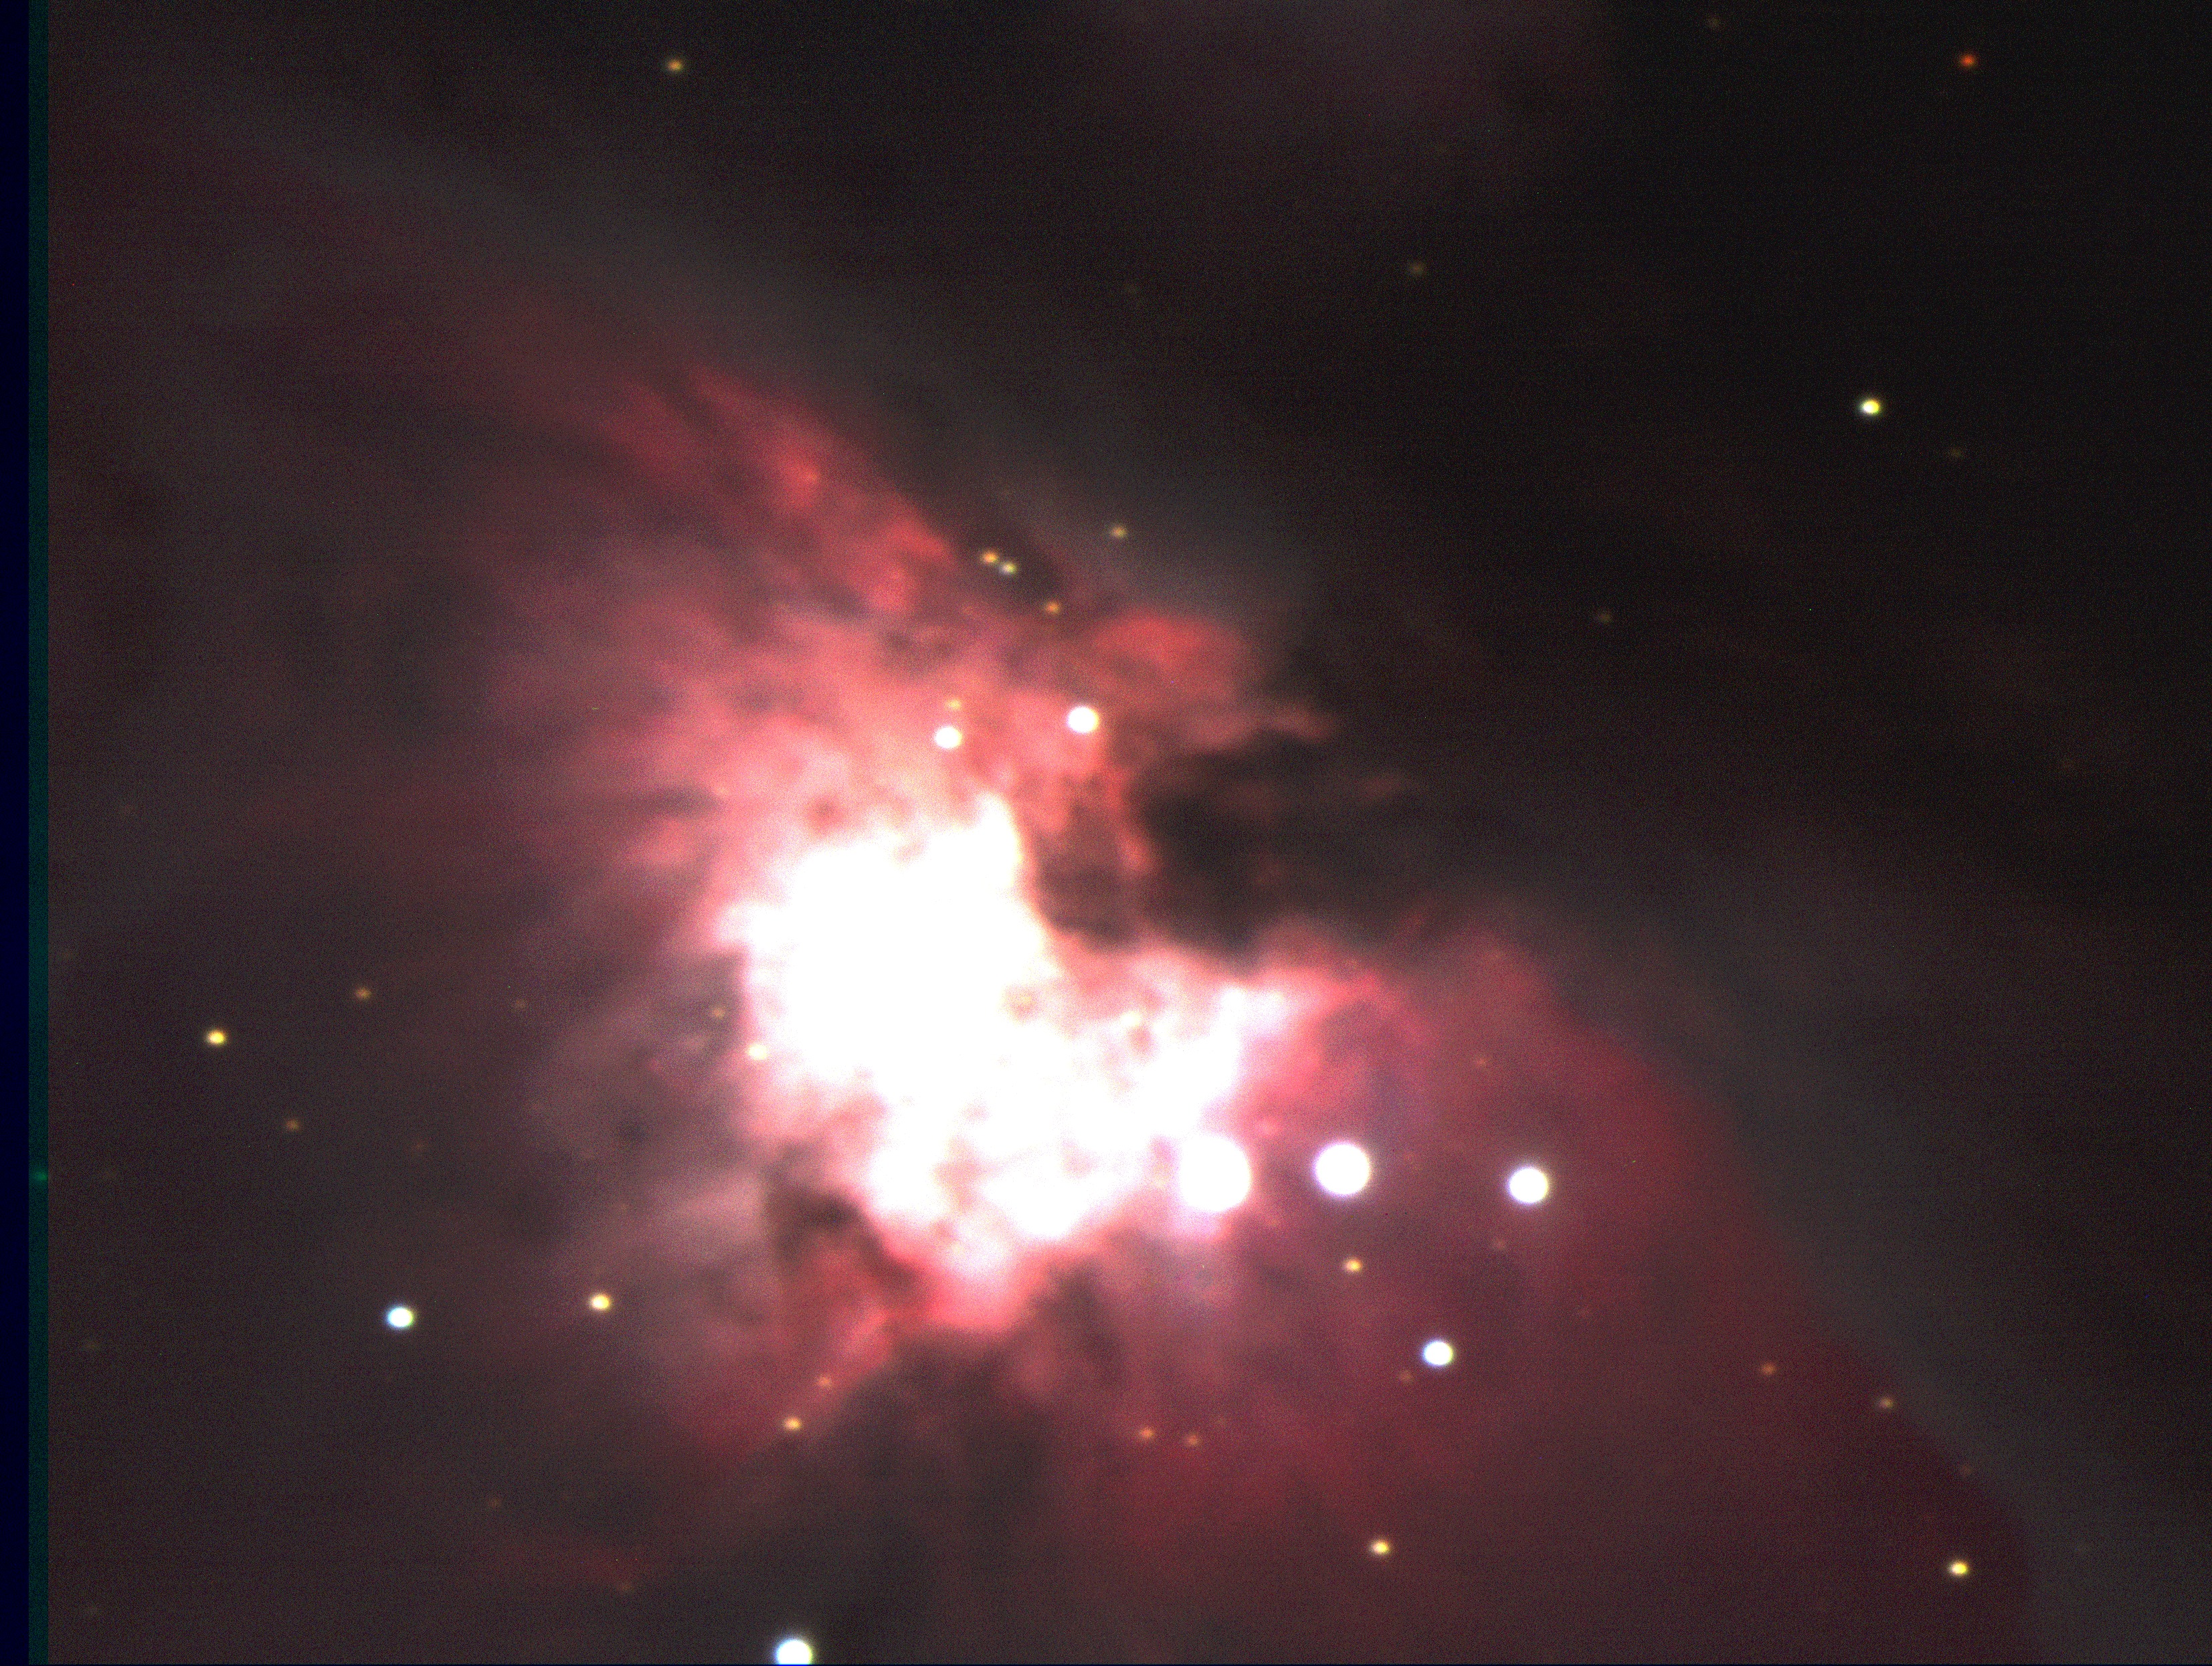
Orion nebula M42, 409mm telescope, Pic du Midi Observatory
We use CCD images obtained by the Master students Jean Cordier and Marie-Laure Bomba at Pic du Midi Observatory with a 409mm Meade telescope LX200R in dome "Charvin" on 2014-02-05. The CCD camera was a starlight xpress SXVR-H18, size: 3326x2504 pixels. The pointed object was the Orion nebula, M42. The jounal of observation is the following:
| UT time | Filter | Exposure time | File name | |||
|---|---|---|---|---|---|---|
| 21h05 UT | R | 30s | m42_r_1.fit | |||
| 21h08 UT | V | 30s | m42_b_1.fit | |||
| 21h10 UT | B | 30s | m42_b_1.fit | |||
| 21h45 UT | darks | 30s | dark_30s_1.fit |
Data processing
For image processing we only substract dark files, since no flat field
images have been obtained. We use iraf software, in its python version,
pyraf:
---> imarith m42_r_1.fit - dark_30s_1.fit m42_r_1d.fits
---> imarith m42_b_1.fit - dark_30s_1.fit m42_b_1d.fits
---> imarith m42_v_1.fit - dark_30s_1.fit m42_v_1d.fits
Making color image
Now, we start gimp.
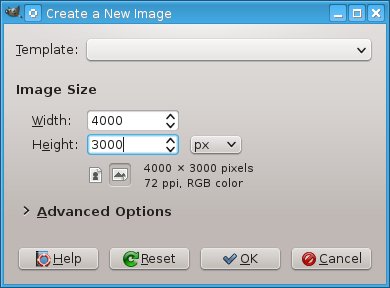 - In "File" menu bar entry click "New" and type required image size.
Here we have entered 4000x3000 to have a back ground greater than
the astronomical CCD images.
- In "File" menu bar entry click "New" and type required image size.
Here we have entered 4000x3000 to have a back ground greater than
the astronomical CCD images.
- In "File" menu bar entry click "open as layers" for opening the 3
images B, V and R, m42_r_1d.fits, m42_v_1d.fits
and m42_b_1d.fit.
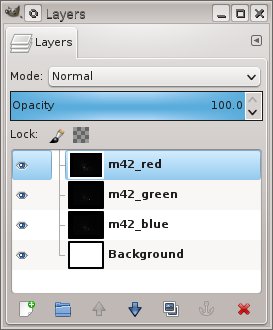
- Open layers dialog window: Windows -> Dockable Dialogs -> layers
- In layer dialog window, right click on file name and rename layer:
m42_red, m42_green, m42_blue. For coherence, we stack colors in the
order RGB, from top to bottom.
– Create color layers:
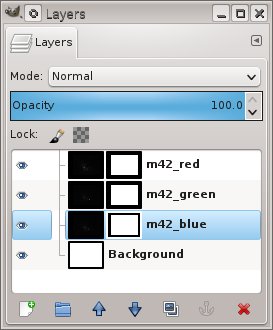
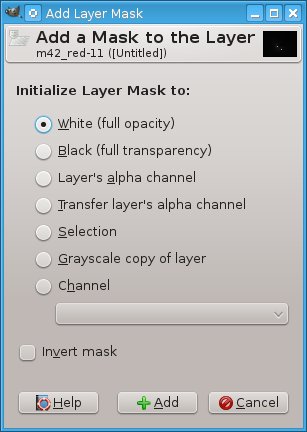 - Create masks for each layer:
From layer dialog window, right click on layer name and select
"add layer mask".
In the window which appears, select "White (full opacity)", and
click "Add".
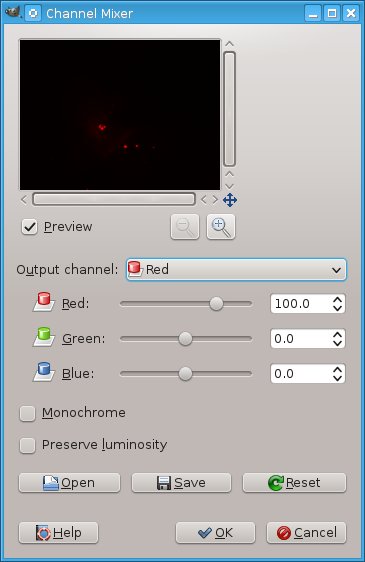
- In layer dialog window: click on the red layer to select it.
- In main window, click on "Colors" menu entry, select "Components"
and then "Channel mixer ..."
- Give the following values:
Red: Red = +100, Green = 0, Blue = 0
Green: Red = -100, Green = +100, Blue = -100
Blue: Red = -100, Green = -100, Blue = +100
- save the values in a file called "red", for example, in the
directory "channel_mixer" (you would have created).
- Then click OK.
- Right click on layer in layer dialog window and select
"Apply Layer Mask".
Here Henri Gaud gives a reference to
his page
 |
 |
 |
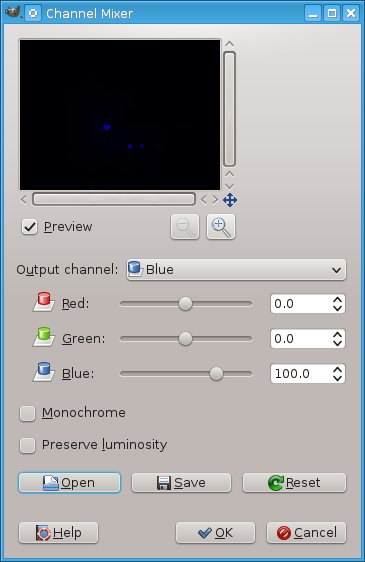
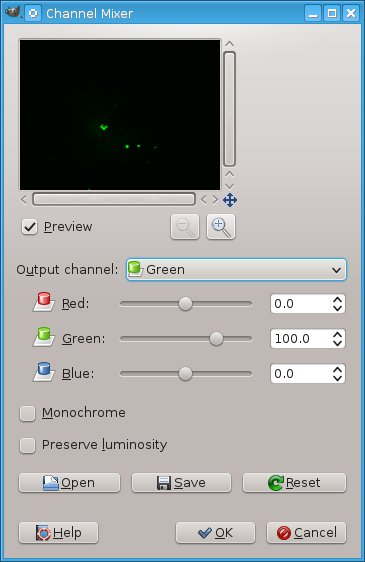
- Do the same for Green layer:
Red: Red = +100, Green = -100, Blue = -100
Green: Red = 0, Green = +100, Blue = 0
Blue: Red = -100, Green = -100, Blue = +100
- And Blue layer:
Red: Red = +100, Green = -100, Blue = -100
Green: Red = -100, Green = +100, Blue = -100
Blue: Red = -0, Green = 0, Blue = +100
– Transform image to trichromy:
We need now to merge the 3 layers
 - In layer dialog window: click on the red layer to slect it and
change mode from "Normal" to "difference". The same for Green layer.
Blue layer remain in mode "Normal".
- In layer dialog window: click on the red layer to slect it and
change mode from "Normal" to "difference". The same for Green layer.
Blue layer remain in mode "Normal".
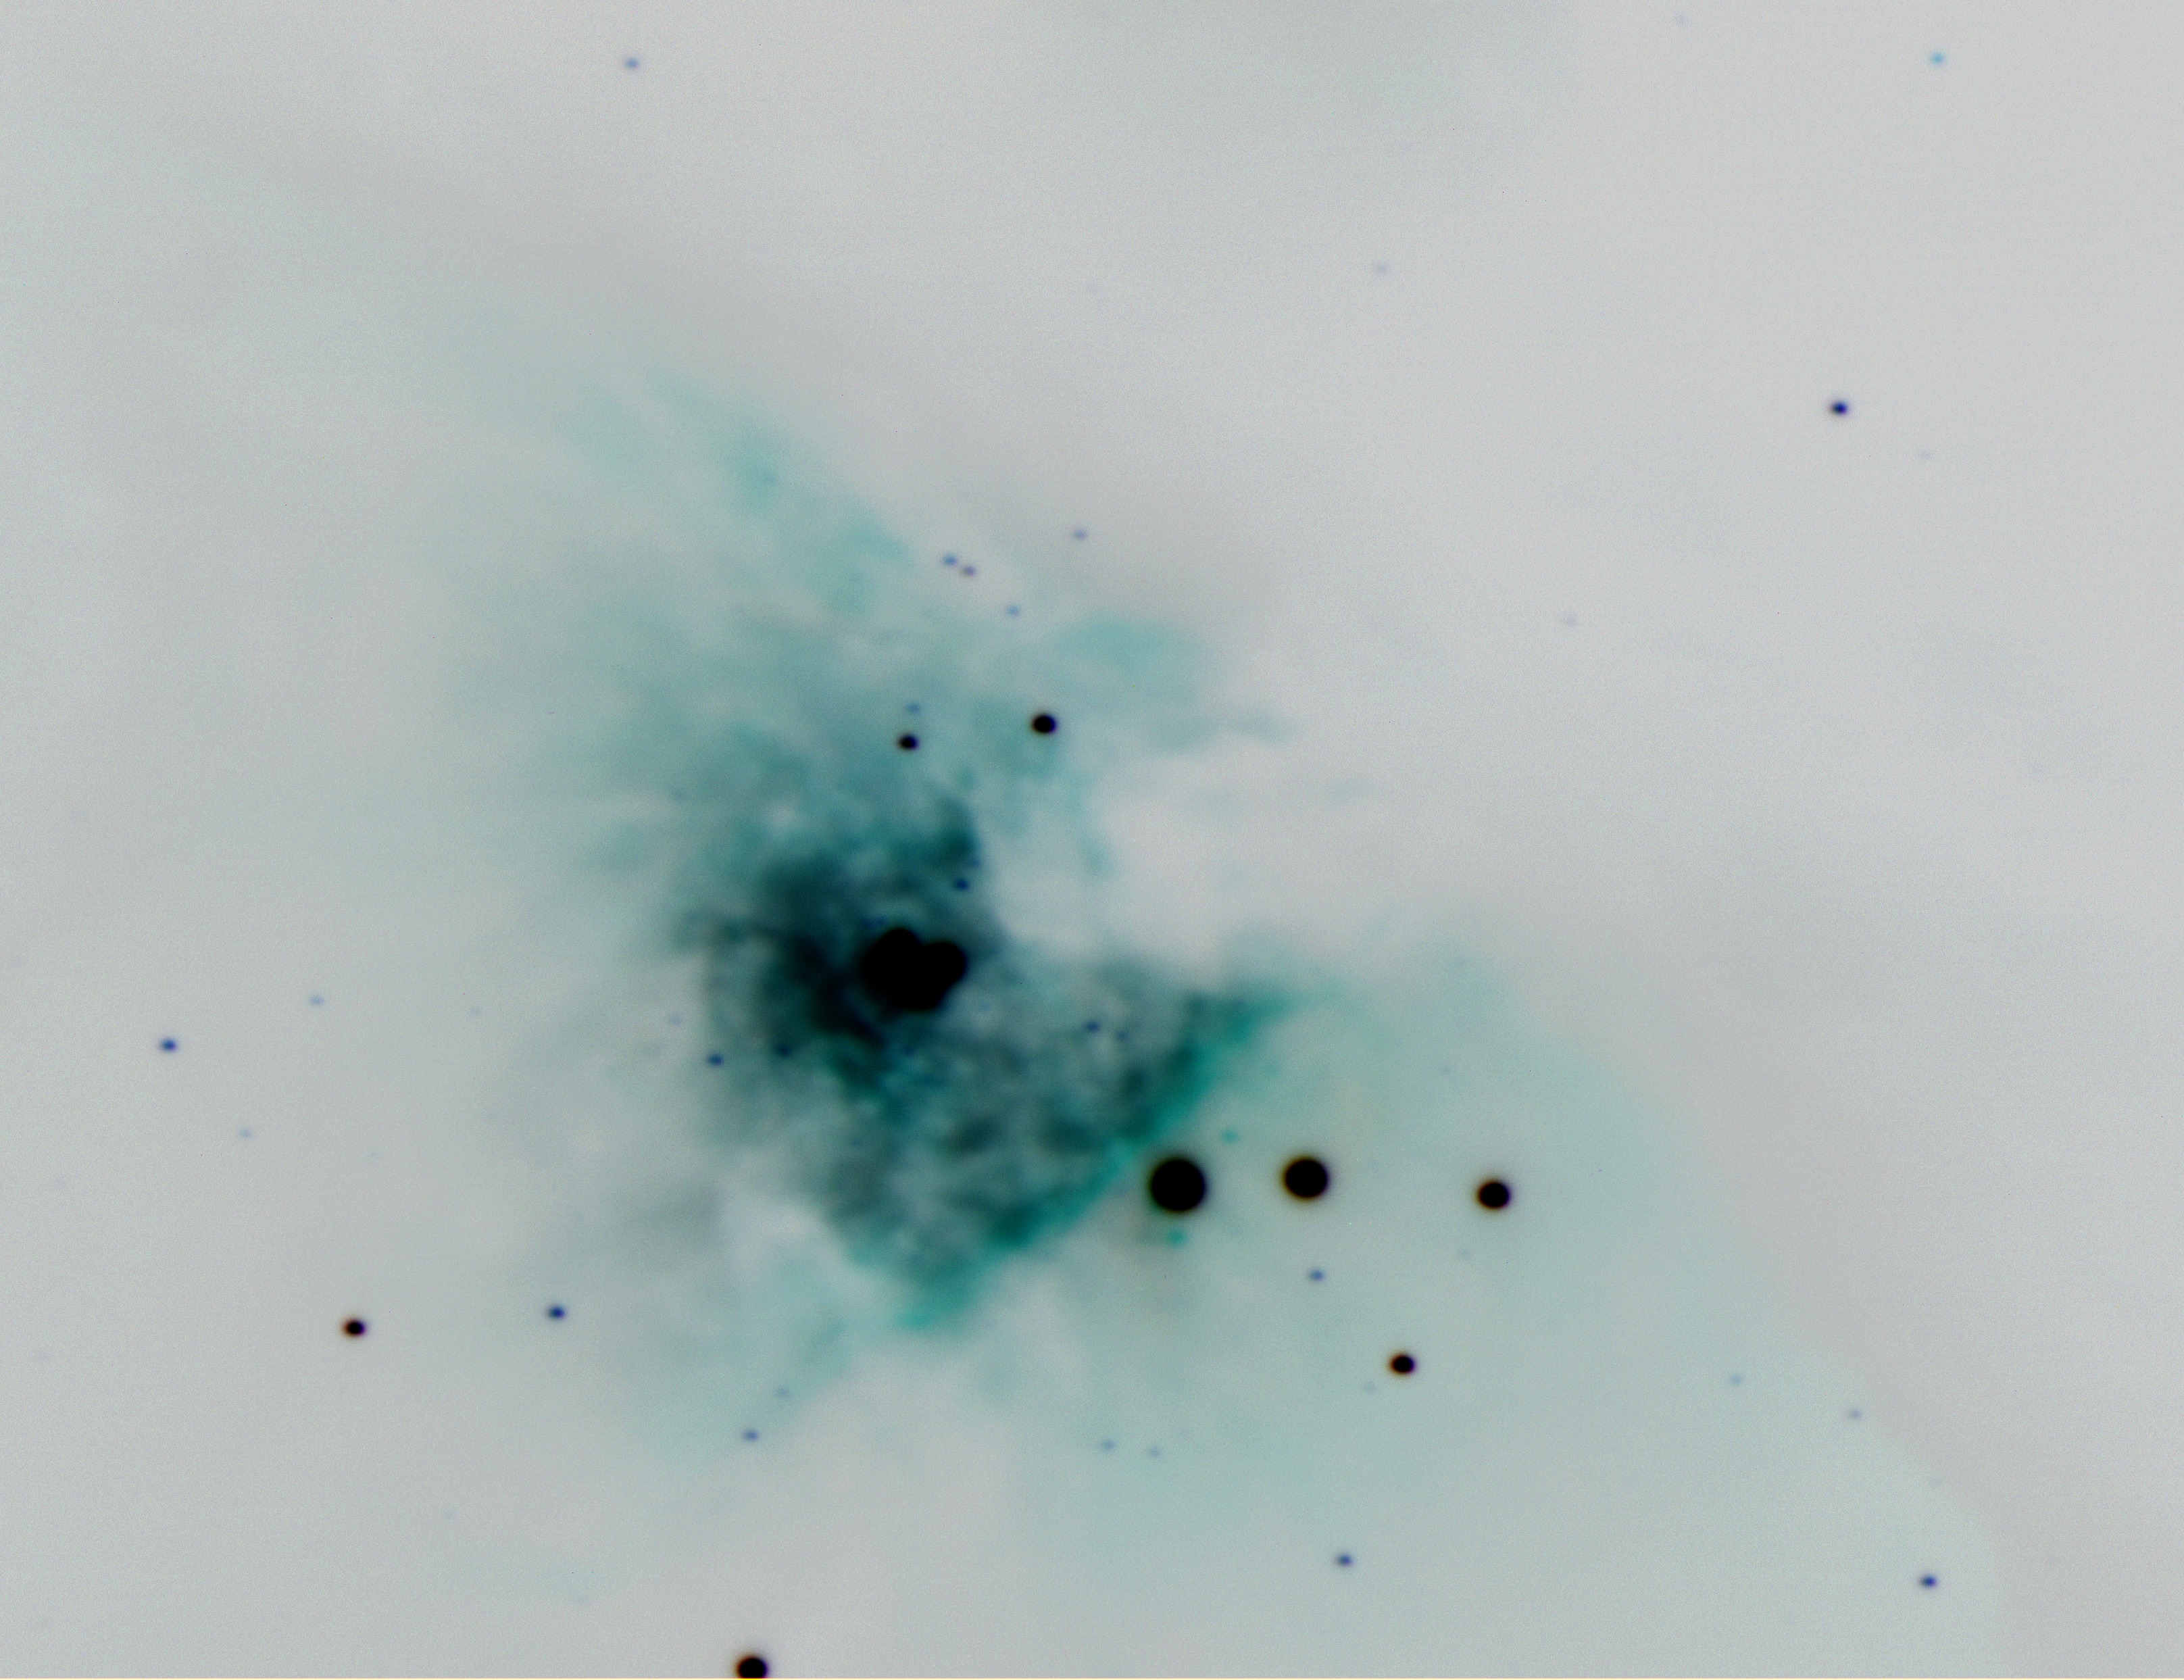
The image looks like this:
 |
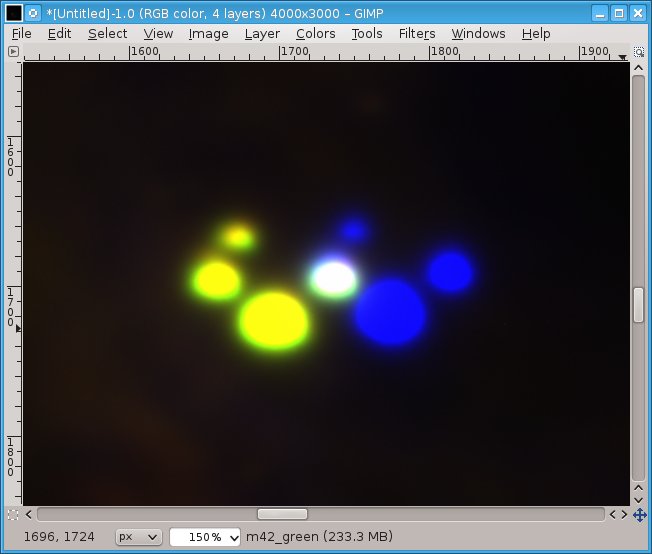
It only remains to adjust the superposition of the images with
the "Move" tool.
- In the tool box window, select the "Move Tool" and select "Move
the active layer".
- Act on 2 layers to adjust the position to the 3d one. It is
recommended to zoom on a detail.
- Save the work in a file, for example m42.xcf,
in order to modify parameters if necessary.
 |
 |
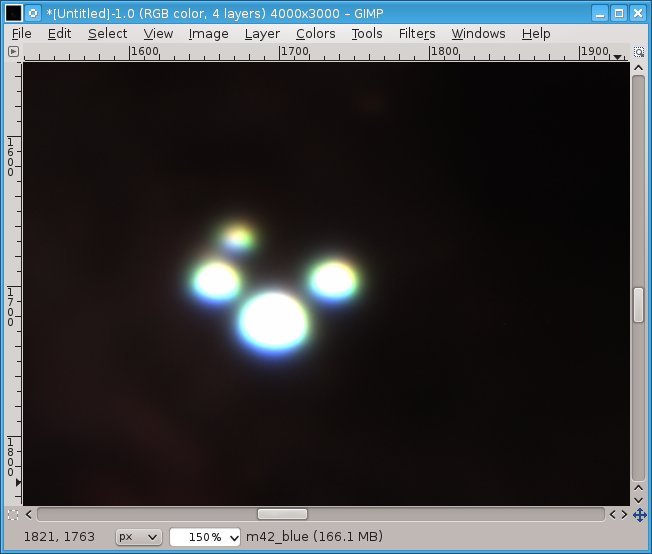 |
| Green layer has been moved on Red | ... and Blue layer on the others two. |
When the layers are perfectly aligned, select green layer and "merge
down" it with blue layer which is directly below it. Do the same with
red layer.
- Save again the work in a file, in a different file, for example
m42_merged.xcf
And that's it !
If necessary crop the image and adjust contrast to the required
effect to save it in png or jpg format.
Here are some examples of possible rendering of final image:
 |
 |
 |
Case of low S/N: the limits of 8 bits image depth
As the citation noted above from Chandra X-ray Observatory - openFITS site says "Although GIMP has a built-in FITS reader, it is limited to 8-bit image scaling while the original data in most cases are 16 or 32 bit so image information will be lost. ". The whole range of intensity is scaled in an interval [0,255] even if the fits file is is coded on 16 bits with a range [0,65535], or even worst with floats coded on 32 bits. If one wants to keep the dynamic of an object of interest, one should keep the 256 levels concerned ! At least one should reduced the brightest values to the minimum.
Apparently, we have to wait for Gimp 2.9 to get up to 32 bit images
to be taken into account: "GIMP will now [Gimp 2.9] load
such images [6 and 32 integers, 32bit floats] in their native
precision mode"
(
Gimp team revitalizes astrophotography tools; 19. Feb, 2013)
Gimp 2.9 is not available yet, even as beta version.
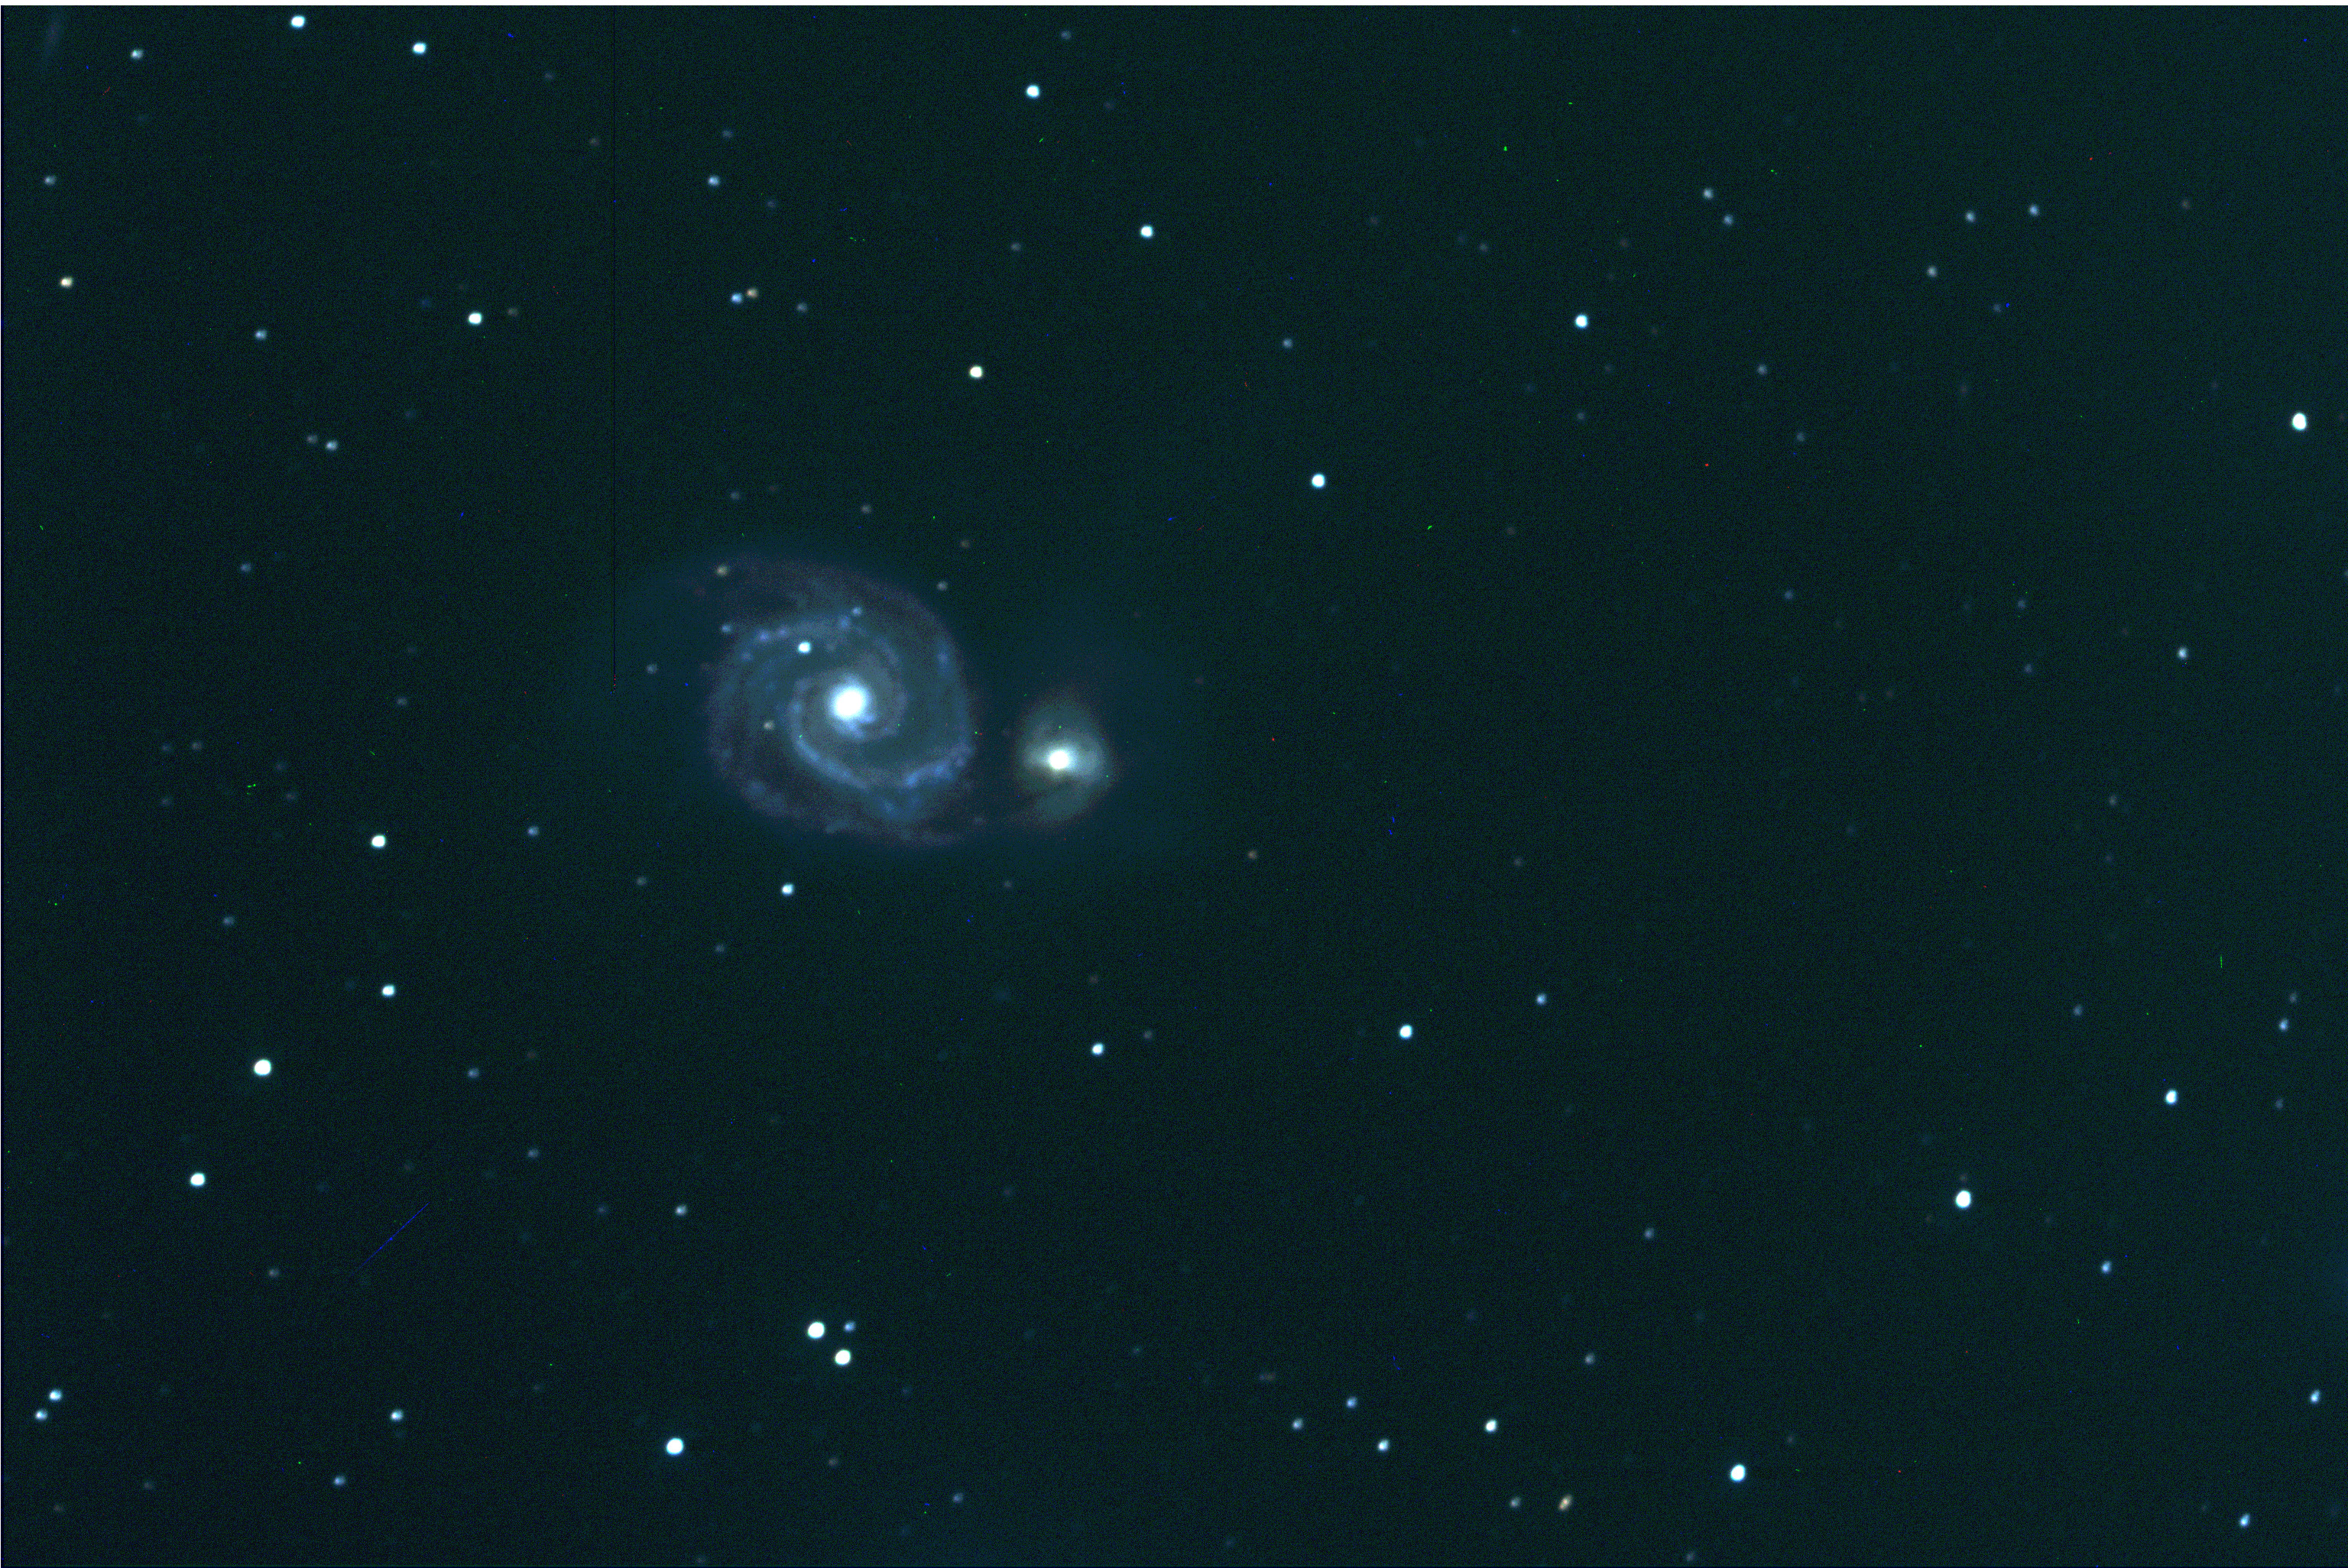
M51 at Pic du Midi 60cm telescope (T60)
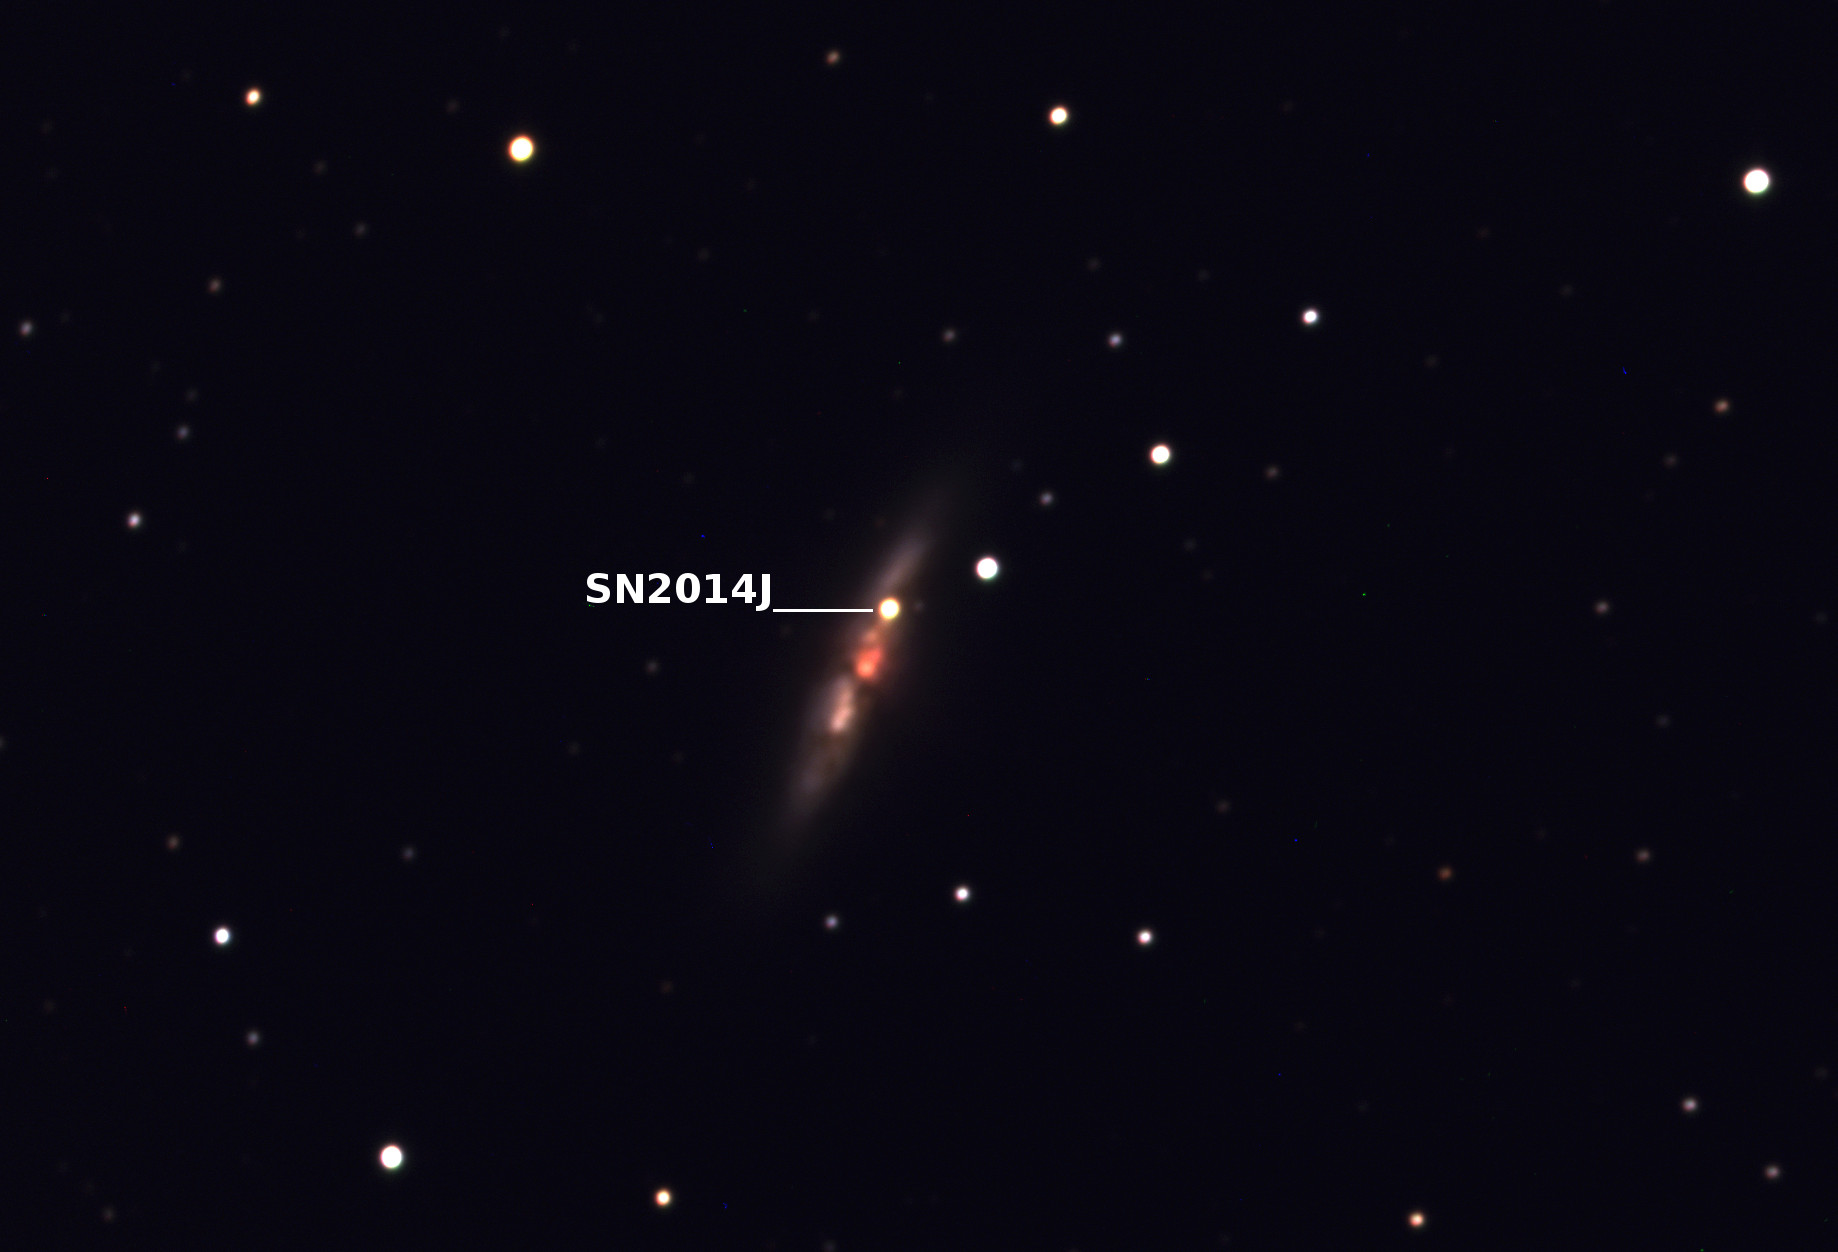
SN 2014J in M82 at Pic du Midi 60cm telescope (T60)
For this image the dynamics of the original images have been reduced
so that all pixels with values greater than 10000 ADU are given a
value of 10000. All pixels with values less than -100 ADU are given a
value of -100. Then the range of 10100 ADU is reduced to 255 by Gimp.
 |
 |